During November, I’ve continued to finish off my collection of figures and terrain in 2mm scale for the battle of Lützen in 1632. Sharp-eyed readers of this Blog and Twitter (following @RoundwoodsWorld) might remember that I ran a playtest of the battle in June, at Evesham. Since then, I’ve finished off the Baggage Trayne for both armies, done some additional troops of the Weimarian corps present at the battle, finished off the various commanders present in the battle and also play-tested the rules a little bit more.
Last night, I ran the game at Lard Island for the St. Albans club. Rather than a description of what happened in the game (a very even-handed encounter, with the Imperial forces just about on the top by the end), I thought it might be interesting to bring out the themes which came through last night’s battle.


Ethos and aim: As you might recall, my intention (along with that of the game rules co-creator, Curt Campbell from the
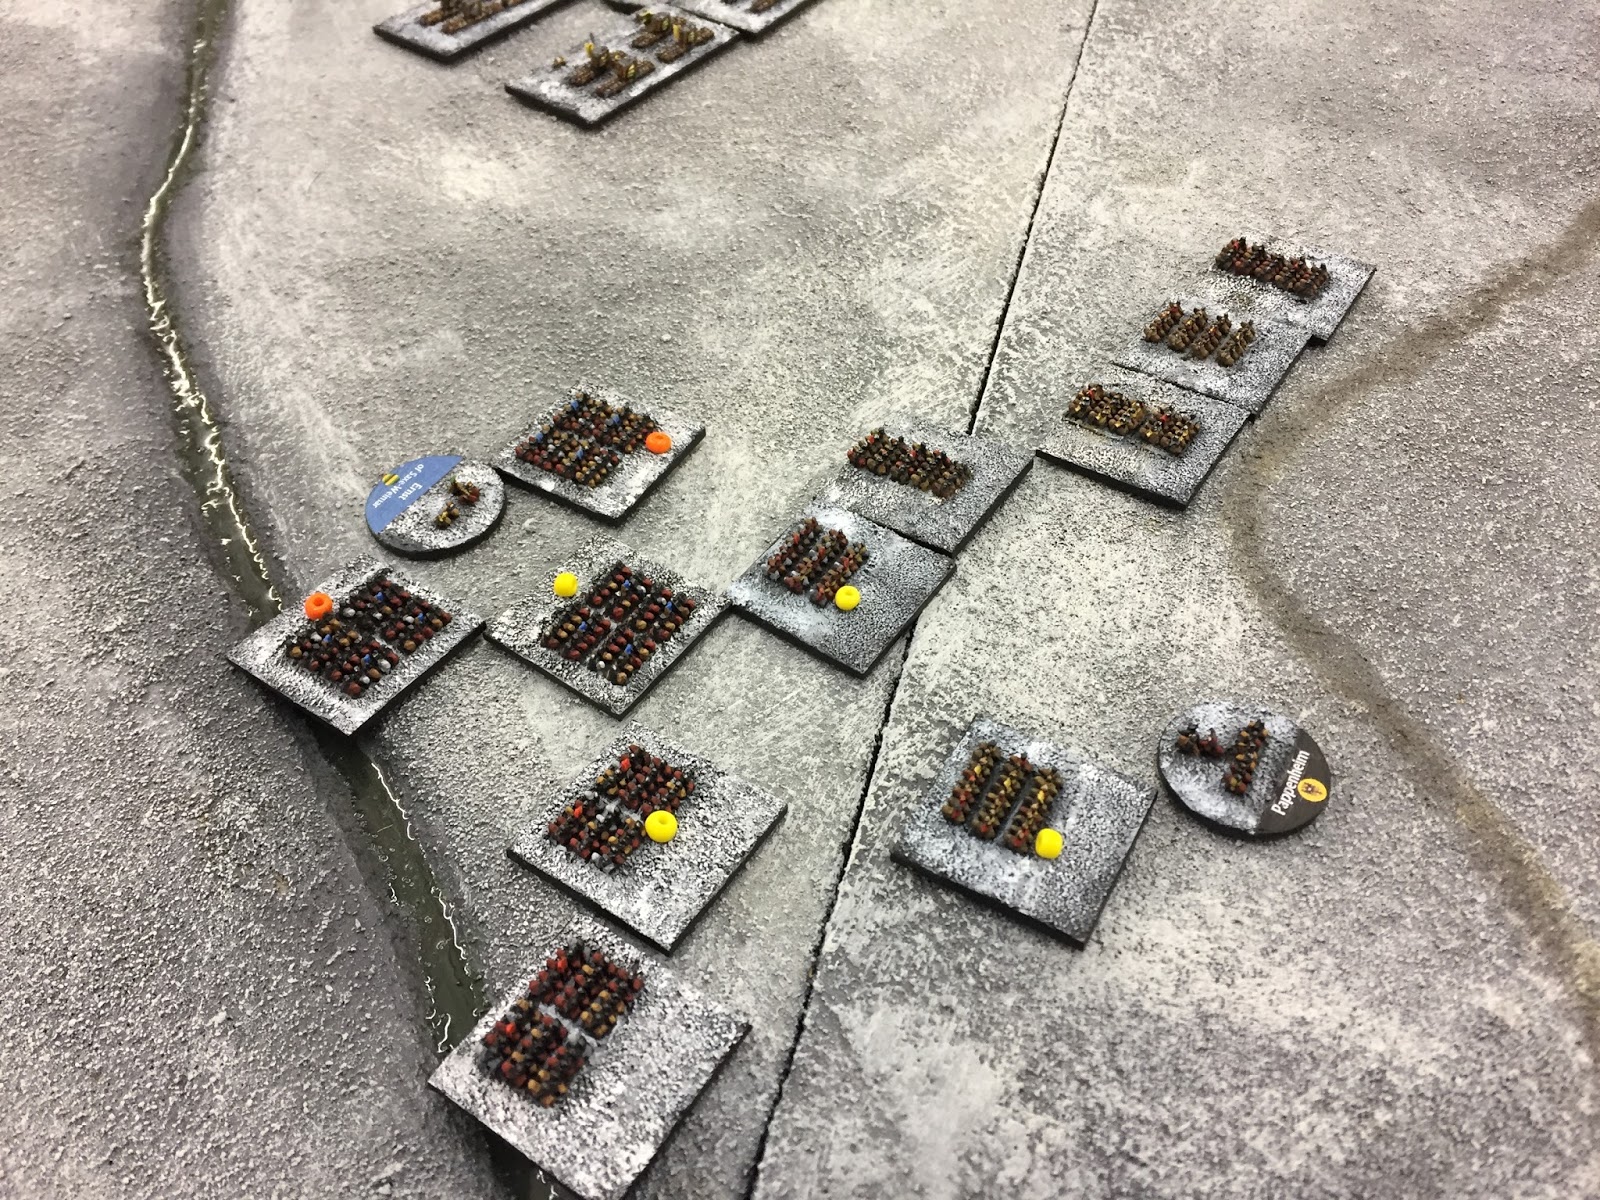
Analogue Hobbies Blog) has been to create a wargame focused on re-creating iconic 17th Century battles in a manageable space, and in a compressed time period (something around 2 to 3 hours wargaming time). I also want to try and capture the visual impression and “feel” of a 17th Century battle on the table top. As I mentioned in an earlier Blog post the visual aim is to try and recreate the “battle paintings” of Sebastian Vrancx and his pupil, Pieter Snayers, in which the battlefield is laid out before the viewer of the painting. Units are clearly seen, and their formations, but individual details are often sketched in. The impression is of the formations in the field, not of individual soldiers. I’m hopeful that the photographs below show that we are slowly getting towards a war-game which looks, even in a small way, similar to the fantastic pictures which Vrancx and Snayers painted.


Portability: A huge merit of the 2mm scale is that it’s portable. The whole game packs down into three boxes, which include terrain, and four terrain boards. (More about making the terrain and the terrain boards is coming in a future Blog post). Set-up and pack-away time is reduced, making the scale perfect for a club-night or convention game.
Did you bring your spectacles? Yes, 2mm is a tiny scale to look at figures. But, if we’ve done our work correctly, it is the mass of troops in the army, and the battle formations, which are catching your eyes, and not the tiny individual soldiers. Of course, it is sometimes hard to resist the odd figures in a terrain diorama, like these Imperial courtiers watching the battle unfurl from the snow bound hills above Lützen.


The Council of Warre: The game rules we have been working on start with the players on each side deciding the deployment of their respective armies in a Council of Warre. This involves allocating brigades to named commanders, and locations on the battlefield – the left and right wing, the main battle, the reserve (a key component of 17th Century large battles) and troops sent on "Discoverie" (the wonderful early 17th Century term for reconnaissance).
Decisions made in the Council of Warre will affect not only the way each army deploys on the table, but also the command and control exerted by the army commanders during the game. Last night’s players seemed to enjoy this planning phase, moving units in and out of Wings, Reserve and Discoverie for some time before coming up with what they felt was an optimal deployment for the battle. Hopefully, this is an echo of the Council of Warre which took place before many major battles of the period, with commanders jostling for resources and commands.

Keeping a reserve - One of the other key elements in the rules is the concept of a reserve – how large it is, the time in the battle when the reserve is deployed in the battle and the consequences of that deployment. We’ve tried to create a balance between wanting to use the units comprised in the reserve as soon as possible in the Field, and the morale benefits for the whole army in the reserve being held back until a decisive moment.
This is hopefully achieved by inter-connecting the moment when the reserve is deployed with the subsequent impact of battle events on an army’s morale status. The earlier the reserve is deployed, the more troops a general will have to fight with - but greater the chance that casualties suffered following the reverse’s deployment will adversely affect the morale of the soldiers still fighting. After all, once the reserve has been committed and they're taking casualties, what else is left....?
Cards: I like the idea of 'games within games'. It's a different dimension to the tabletop, and can create colour, theme, challenges and rewards in abundance.
Card management in fine games like Dux Brittaniarum, Maurice and Longstreet have really opened my eyes to the possibility of what might be achieved using activation and ability cards in an army level game. With this in mind, key actions in our Thirty Years War battle rules are permitted using Activation Cards – such as rallying units, reforming brigades, withdrawing shattered units, deploying reinforcements, re-supplying artillery. The cards interact with special abilities of the commanders on both sides.
The cost to use a “ferocious charge” card for a cavalry commander such as Count Piccolomini (whose special ability of “Cavalier” reduces the cost for certain aggressive cavalry moves) would be less than the cost for an infantry commander to use the same card. It’s early days, but the players last night seemed to enjoy that aspect of the game even if I didn't do a great job of telling them what some of the cards were actually for!


Combat and formations – one of the aspects of the game which needs more work is the impact on formations of close fighting (such as push of pike or firefights at close range). Taken together, the infantry fighting last night did seem to ebb and flow like the real engagement, which had turned into a really tough infantry slog by the late November afternoon on the day of battle.
Last night, we saw an Imperial Tercio trundling forward slowly, being difficult to manoeuvre, but relentless in its advance. We saw Swedish brigades deploying a marked advantage in firepower (at least the initial salvo). And we saw brigades being slowly worn down through “disorder”, being “shaken”, then “shattered” and finally “lost” (with coloured markers denoting each stage). So I think it's reasonable to think that we're heading along the right path.
More difficult were the fiddly rules for things like interpenetration and push-backs. There’s much more work we need to do in looking at the books in this regard – both 17th Century works such as “Pallas Armata”, and modern commentaries like the books of Stuart Reid, Pavel Hrncirik and John Tincey.
Saturn is in quadrature to Mars in Scorpio – one of the things I tried to do before the game was to play a mini campaign by email, featuring just Dougie (Wallenstein) and Panda (Gustavus) as the commanders of both sides. The mini-campaign was a very simple “decision tree” campaign, introducing the big-picture strategic choices for both armies as they raced through southern Germany in the Autumn of 1632.
I'm hoping to write it up in full and post the mini-campaign here on the Blog in the resources section for those interested. I like staging these mini-campaigns before a wargame. True, they take a little extra work, but they certainly add some depth to what might otherwise be a one-off battle. I tried to reflect the strategic choices of the two commanders during the mini-campaign in some tabletop top consequences. For the Swedish forces, their focus on the mini-campaign on gathering allies was rewarded by a slightly increased number of Weimarian troops available to the Swedish allied commander, Duke Bernhard of Saxe-Weimar. For the Imperial forces, their requests for a the recruitment of engineers was rewarded by the presence of Count Andrea Marmaladi on the tabletop (who you might just remember fondly from the "Warhammer Siege" rules), and the construction of a small redoubt in the middle of the Imperial line.

One of the elements I tried to build out in the mini-campaign was the role of astrology, superstition and the fascination with the occult which seems to have been a feature of Wallenstein’s world outlook, as well as many at the Imperial Court in the early 17th Century. I think this was lots of fun, helped build the theme for the game - there’s definitely more to do in this regard as we refine the rules. I ended up making a set of cards just for Wallenstein, each one of which summarised a possible horoscope for the day of battle - Saturnine, Jealous, Rash (and so on) - each with a small impact on the tabletop.
The Thirty Years War was a conflict involving many remarkable, colourful, sometimes quite strange army commanders and noblemen. Somehow reflecting that in either the battle rules or the campaign setting is something I think people will enjoy.


I hope that’s enough of an insight for now. I’ve a few more 2mm posts to come this year, mainly relating to building 2mm terrain boards and Baggage Traynes. And also, in due course, there’ll be more from my 28mm Laarden project, including some book reviews and more figures. So, stay tuned!