

As I mentioned in my last blog post, this game followed from a pre-game series of emails between the players in the game. The intention was for the decisions made by the players in the pre-game to influence the forces available and the tactics used by the German and British sides during the Tuesday night club wargame and also the precise terrain over which the game was to be fought.

The game played was the most promising of a number of encounters between the British 62 Brigade, part of 21 Division in the British Fourth Army, and the German 14th Reserve Infantry Regiment. The pre-game emails were focused on the British advance against German defences in depth in an area bounded by Jetty Wood to the North, and Juniper Wood and Juniper Cott to the South.
The Objectives
Being part of a pre-game sequence of emails, it was difficult to set the same fixed objectives as I would normally do in a scenario. Each player had stated in their emails what they wanted to achieve by the end of the mini-campaign, but translating that into hard objectives on the tabletop as slightly more challenging. I settled the objectives after discussion with the players – with the British objective being to navigate along the road from Polygon Wood to Reutel village (which ran across the North edge of the table, and for the Germans to prevent this happening).
The Terrain
The terrain over which Third Ypres was fought, and the changes to that terrain brought about by changing weather, was critical to the relative successes and failures of British operations in the Ypres Salient. In this context, the images of the flooded, shell-pocked terrain around Broodseinde, Zonnebeke and Passchendaele have become the signatures of the battle (even though at times during the Third Ypres battles large portions of the Salient were dry and dusty). It was therefore straightforward to mention to the players that their use of terrain, and navigation over the battlefield, would be key elements in the wargame.


The south of the table featured the edge of Juniper Wood, which petered out into a couple of isolated copses to the north. Alongside the eat edge of the wood was an artillery bunker, revealed in the first instance to the British players as simply being a reinforced shellhole. The reasoning here was that letters and post-war accounts by Tank Corps crewmen regarding concealed German artillery positions generally seem to have noted that a number of German field gun positions were practically invisible until the tank was very close indeed. I made the artillery Stellung accordingly difficult to spot for the British.
To the east of the table were two German MEBUs, or prefabricated concrete pillboxes. These were a typical feature of the German defences in the Ypres Salient. They proved historically to be a thorn in the side of attacking British and Imperial troops, necessitating a number of different tactics in order to neutralise them. The German player (Elton) has placed these carefully to provide mutual support on the campaign map, and they proved as venomous in the game as their historical counterparts had done. With a certain grim nod to the past, the northern pillbox was named “Scharnhorst”, the southern “Gneisenau”.


The terrain on the table was uniformly stated to be poor, requiring any movement to be at a -1 per pip of each movement dice. There was also the possibility of some of the terrain being abysmally bad, this being determined according to a random roll and reflecting the poor, rainy weather on the previous three days in the pre-game campaign.
The German player was also informed that prior to the start of the game, a creeping barrage had passed over his positions, dislocating his communications with his SOS artillery and causing some casualties in the pillboxes following several Stollenknicker, or large calibre dug-out smashing shells.


The British route of advance was equally testing. The road to Reutel was deemed to have been badly shelled by both sides in the previous days, and was negotiable only with great care. The road ran along the North of the table, but was difficult to follow for any British forces – especially if under fire. Crossing the short distance across the table, a mere 48”, would not be easy.
The Game
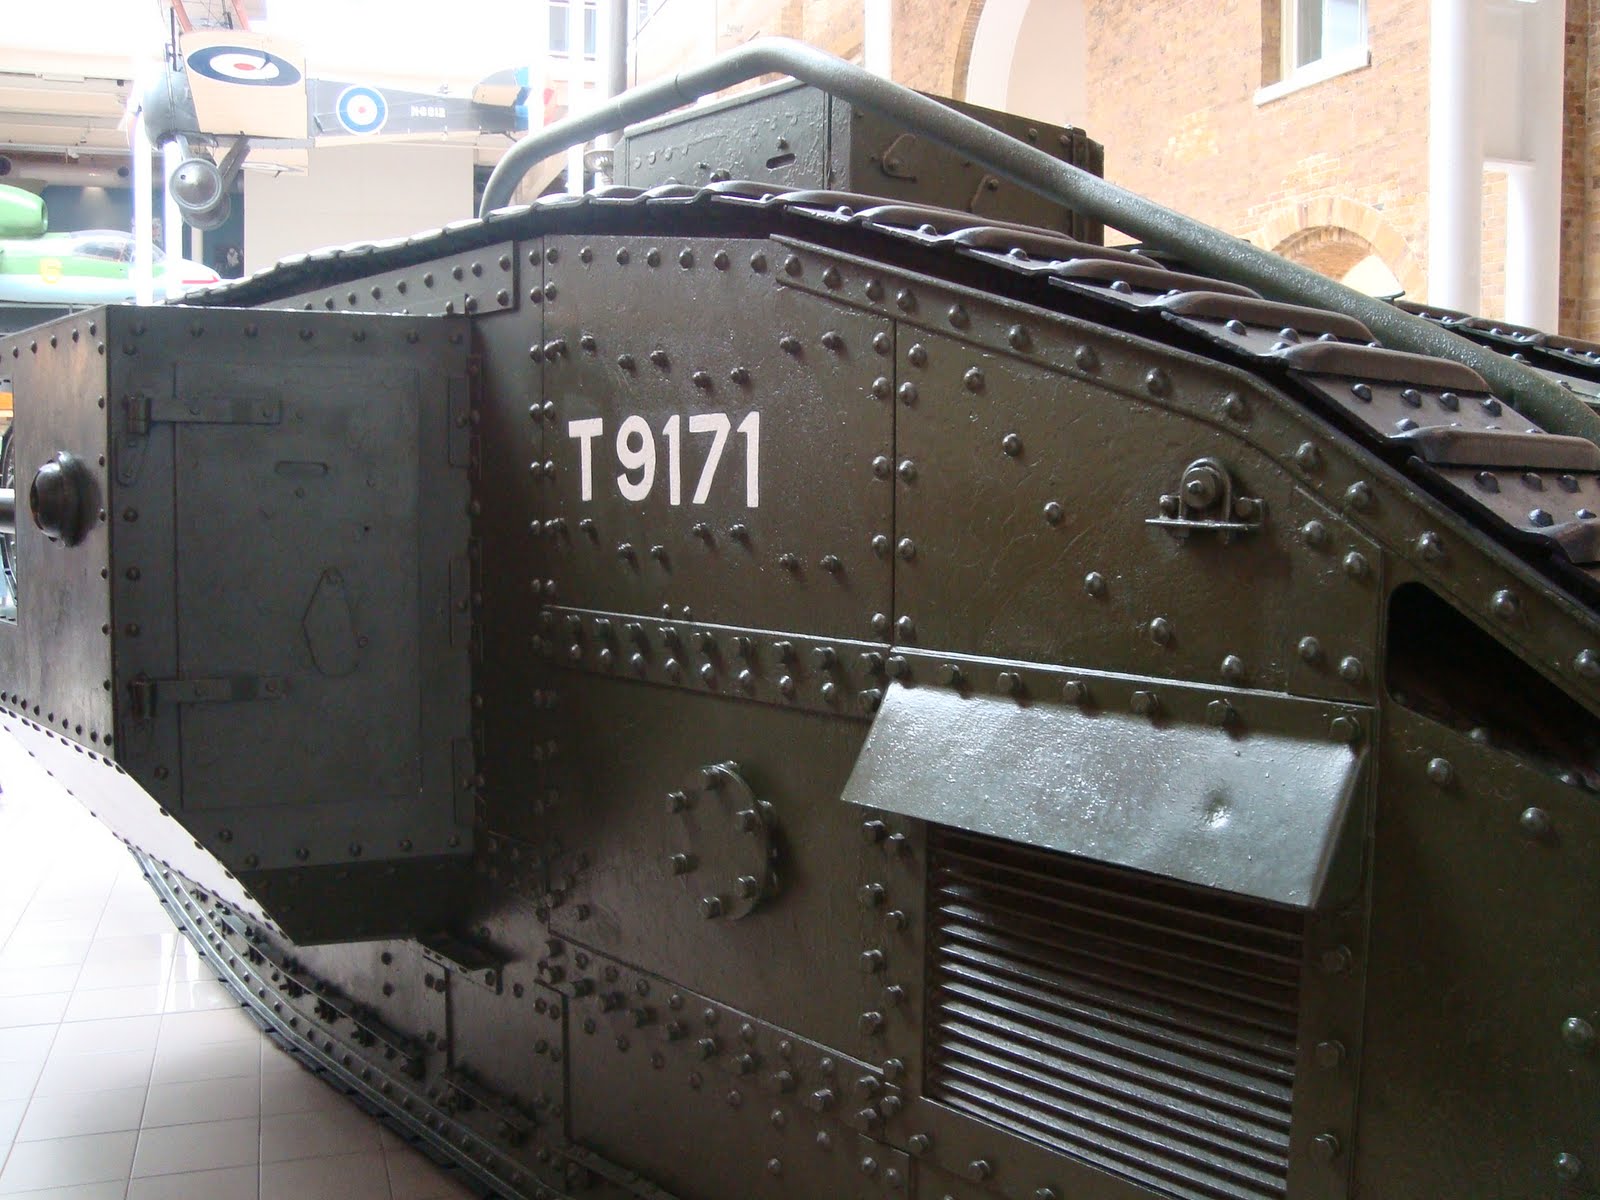
The British infantry from “A”Company, 1/Lincoln arrived slowly owing to being stretched out slightly along the road to Reutel (another requirement of a pre-game email from the British players). The first section to arrive occupied a small copse by Juniper Wood, closely followed by the first of a section of Mark IV tanks from “B” Battalion of the Tank Corps.

Black Prince II, a male Mark IV tank commanded by Captain The Honourable Roger Gustard-Woode, crawled cautiously onto the table, moving slowly along the road with its supporting infantry.

The pre-game emails had revealed Captain Gustard-Woode to be a most entertaining character. Here’s the description from Panda, the British Tank Corps commander:
“Captain The Honourable Roger Gustard-Woode is part of the landed gentry. His great grandfather had been influential in the development of corn thrashing machines, on the basis of which the family fortune was made. The Captain, like his father, took a keen interest in the workings of the farms and estate, and the introduction of machinery into the working day. It is for this reason he chose the tank instead of the lance, following his keen interest in farming machinery. A keen sportsman, Roger is often seen carrying a hockey stick, a hangover from his university days as First team captain. A rather social chap, his keenness to encourage a corps d’esprit amongst his men can sometimes take precedence over his other duties. However, Roger is rather hands on in terms of the technology at his disposal, and can happily spend hours talking and working alongside his engineers and crews, and often when other duties are to be attended to. Captain Gustard-Woode has chosen to spend time with his crew and their machines, tinkering with their new technology - sometimes to the annoyance of the engineers. In respect of extra equipment, the Captain recognises the importance of clear communications, and therefore has given orders for extra signalling equipment. Pigeons for signalling? No Sir, only for dinner!”
Eminently sensible, and characteristics which were reflected in the Captain’s performance with a couple of “house-rules”. These came in handy because no sooner had Black Prince II clanked its way onto the table than the German Blinds card was drawn, enabling the sharp eyes of Gefreiter Dieter Jaeger of 3rd Battery, 18th Bavarian Foot Artillery Battalion to drag the camouflage and scrim netting from his gun and strike the lumbering tank at long range. Firing his 77mm M1916 field gun after spending an action aiming, Gefreiter Jaeger’s first shot hit Black Prince II, shocking the driver and bringing the tank to a shuddering halt.


Stationary, Black Prince II started to slip into the Flanders mud. History repeated itself. “We travelled literally one foot to each revolution of the tracks”, recalled Second Lieutenant Wilfred Bion at Third Ypres. Panda and the other British players shared his experience and the tank bogged.
Immobile, with tracks revolving slowly into the mud, Black Prince II was a perfect target. Gefreiter Jaeger did not miss. The second shot smashed through the sponson, with Black Prince II catching fire, its crew scrambling out of the door hatch
Six of the eight crew, and Captain Gustard-Woode made the exit, gathering as an informal section by the now-blazing tank, thick black smoke enulfing the scene. One gunner had the presence of mind to drag out a spare Lewis gun from one of the sponsons before the fire engulfed the “bus”, and quickly deployed the weapon (somewhat ineffectually) against the Scharnhorst pillbox.


By now, British forces were streaming into the field. Brigand II, another male Mark IV tank commanded by First Lieutenant Charles Kimpton, rolled off the pavé road just avoiding Black Prince II and commenced firing with its 6pdr quick firing sponson mounted guns against Scharnhorst.


Its attack at long range was complimented by a swift attack off Blinds by another section of 1/Lincolns, this time with bombs at close range.


Keeping out of the arc of fire of a German maxim MG08 heavy machine gun in Gneisenau, the British bombers infiltrated to the rear of Scharnhorst and routed a defending section of German infantry guarding the entrances to the pill box.

With the Stellungbattalionkämpfer guards routed, the remaining bombers threw grenades into the rear of Scharnhorst. No quarter was asked, and none was given. As historically, the fighting had taken a bitter, cruel turn.

Gefreiter Hans Fassbinder, seeing the British bombers capturing Scharnhorst and frustrated by the narrow firing angle of Gneisenau’s embrasure, urged his crew to drag the Maxim heavy machine gun to the roof of the pillbox. The arc of fire was greater, and soon Gefreiter Fassbinder was directing withering fire against British forces on the north of the table.


The fire cut through both a British section and also the remaining crew of Black Prince II, but not before captain Gustard-Woode had gallantly rapped on the side of Brigand II with his hockey stick and demanded entrance to carry on the assault. He now led the remaining three tanks of his section, Brigand II which was now accompanied by two females – Belladonna and Banshee. More infantry was arriving, still in somewhat of a piecemeal fashion, as 1/Lincoln’s “A” Company headquarters deployed on the board together with First Lieutenant Percy Grantham.


By now the combined firepower of the “B” Battalion tanks was causing problems for the occupants of Gneisenau and also the artillery Stellung in the south of the board. Gefreiter Jaeger’s artillery crew has suffered two fatalities under Brigand II’s 6 pdr guns, with a strafing run by an RFC close support SE5 adding to the German discomfort.
While the German players attempted to rally their forces ….

… another British section waded through flooded shell-holes to pepper Gneisenau and it’s defenders with rifle grenades


As Captain Gustard-Woode rolled his tanks forward, even at one point navigating on foot before Brigand II, the German reinforcements arriving through Juniper Wood came too late.


Not even the presence of two high-quality German snipers, relocated by the German players from their reserves to the south of Juniper Wood, and the arrival of two additional sections of high quality trench cleaners under Major Ulrich von Bek, the local kampftruppenkommandeur, could stop the British forces getting close enough to an exit to call the morning’s attack for the British.

The Aftermath
So, there we have it. A larger, and more complicated, game than last weeks which I found much more challenging to umpire at a good pace. The duel between the tanks and artillery see-sawed dramatically in the two hours of the game. What seemed at first to be a withering fire by the German field artillery against stationary bogged-down British tanks son became a far more erratic sniping as crew casualties impaired the loading time and accuracy of Gefreiter Jaeger’s gun Bavarian crew.
The players seemed to feel that the pre-game emails had been worthwhile, and that they had set the scene for each of the games. This helped save time on the two nights we played, as well as helping to orientate players who were not very familiar with Third Ypres or the Great War in general.
Next, I hope to post up the pre-game/ mini-campaign emails and some notes for both the games. I always enjoy reading those sorts of things and I think from some of the previous comments that some of you may like that as well. Hopefully I can post them this coming weekend.

It doesn't get much better than this, bravo Sir.
ReplyDeleteQué pasada de buenoooooo!!!!! Insuperable!!!
ReplyDeleteSorry, I needeed to put this in Spanish, my English is not good enough to express my feelings. Terrain, figures, scenario design and report, all top of the tops. I'm really looking forward to read the whole material.
Indeed, excellent work there.
ReplyDeleteReally interesting batrep, great work.
ReplyDeleteAwesome looking terrain and figures, truly inspirational stuff!!
ReplyDeleteI like the idea of posting the pre game emails and all the double dealing that everyone's gonna get up to. I'll be very interested in that. Well done to all involved!!
Splendid stuff. Looking forward to more.
ReplyDeleteJust like the other really superb pics and reporting!
ReplyDeleteChristopher
Absolutely stunning terrain and figures, real wargaming porn :-). Makes me dust off my figures and copy of M&B.
ReplyDeleteThanks Gentlemen. It's good to know you enjoyed it - thanks very much for commenting:
ReplyDelete@Phil Robinson - thank you Sir. Really chuffed you enjoyed it.
@Anibal - muchas gracias! Thank you Benito. Hope you enjoy the pre-game package of material and the article in the TFL Christmas Special as much.
@Jovian1 - thanks very much.
@Angry - thanks, mate. Very pleased you enjoyed it. Thanks so much for following.
@Ray - yeah, I really hope you like the pre-game email ideas. It would work perfectly in the set up you have for the Posties, I'd bet.
@Christopher - yes, sort of the evil twin of the AAR last week! Thanks - really pleased you liked it.
@Suchet - wargaming porn!?! Absolutely….just don't tell that to Mrs Roundwood - she might get the wrong idea!
Absolutely awesome Sidney. Great report and photos. Really like your Mk4's. Any tips, I have a couple to paint up soon?
ReplyDeleteWhat a superb combat report.
ReplyDeleteEnjoyed it immensely. Awed by the modelling standard.
Great wokr mate. As a kid i used to vist the Battlefields with my dad and after seeing Sanctury Wood i always want to make trenches for my soldiers. Your blog has made me want to do this again and i think i'll try my hand at making something. Maybe not as good as yours but hey ho :D
ReplyDeleteThanks for the great comments, guys:
ReplyDelete@Rodger: Thanks Rodger. Good luck with the Mark IVs - I'm sure you'll do them brilliantly. I did a few blog posts last year on how I did mine last year. You can find them all in the "Things I Blog About" sidebar under "Tank Corps". They were a lot of fun to do, although I'm sure there's loads of different ways to do them than the way I chose!
@John - Thanks John. Really chuffed you liked it. I'm a huge fan of your own blog and books, so your comment's really made my day!
@Flags: Thanks so much for the post, Flags! Hey, definitely give those trenches a go. It's not that difficult at all. I'm absolutely sure yours will be stonking!
Thanks Sidney. I will check out those blog posts.
ReplyDeleteGreat AAR Sid, and the detail!!! Right down to bullet hoes in sandbags, WOW.
ReplyDeleteAs Phil said, it does not get any better than this. Fantastic figures and terrain and a great story as well. I guess you tipped me over the edge now and I add a WWI project to 2012. With Suchet dusting off his stuff and making some cards when not reading the odd magazine we should be good for some fun next year. Thanks, Michael
ReplyDeleteBrilliant after action report, Sidney! Thanks for the inspirational stuff. I'm with Michael and will probably pick up some of the Great War castings for the beginnings of a Canadian contingent.
ReplyDeleteCurt